hexo+next配置
说明
记录下制作该博客时候的一些配置修改,默认已经有hexo+next环境,如果没有该环境,请自行搜索教程
博客好久没更新了,发现原来的版本hexo(3.x)部署之后页面都为空,最后升级了下hexo和next到最新版本。升级过程也挺坎坷的,最后走了最傻的版本,重新新建了一个hexo和next博客项目,然后迁移博客数据过来。
升级过程中发现之前写的一些东西已经没法用了,包括添加顶部加载条, 代码样式, 增加阅读统计, 腾讯移动分析。所以配置教程基本上没什么用了
next样式修改
next提供三种样式,在next/_config.yml中直接搜索Schemes,通过开关注释进行修改,我用的是Mist
1 | # Schemes |
隐藏网页底部powered By Hexo / 强力驱动
打开themes/next/layout/_partials/footer.swig, 使用注释,或直接删除以下代码
1 | {% if theme.copyright %} |
添加顶部加载条
打开/themes/next/layout/_partials/head.swig文件,前三行之后增加:
1 | <script src="//cdn.bootcss.com/pace/1.0.2/pace.min.js"></script> |
修改文章底部的那个带#号的标签
修改模板/themes/next/layout/_macro/post.swig,搜索rel=”tag”>#,将#替换成如下:
1 | <i class="fa fa-tag"></i> |
代码样式
在next/_config.yml中直接搜索highlight_theme,提供四种代码样式,可以自行修改找到合适自己的样式,我用的是night eighties
1 | # Code Highlight theme |
主页文章添加阴影效果
打开next/source/css_custom/custom.styl,在里面加入以下样式
1 | // 主页文章添加阴影效果 |
增加阅读统计
leancloud注册账号
进入leancloud注册账号
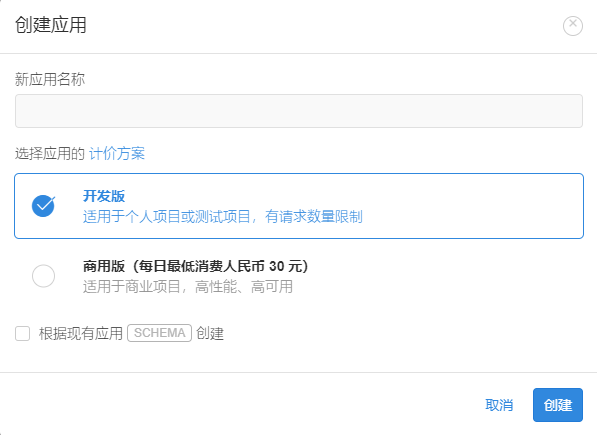
创建应用
创建class
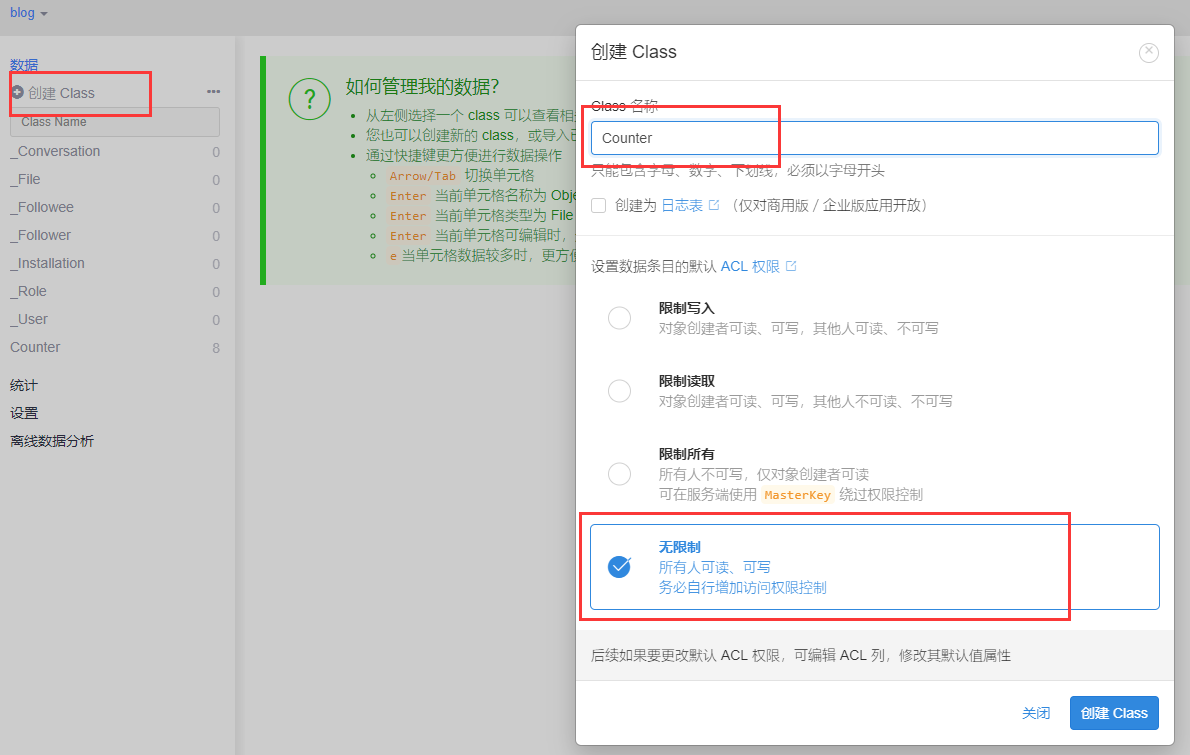
class名字一定得失Counter,为了避免权限问题,选择无限制
获取app id和app key
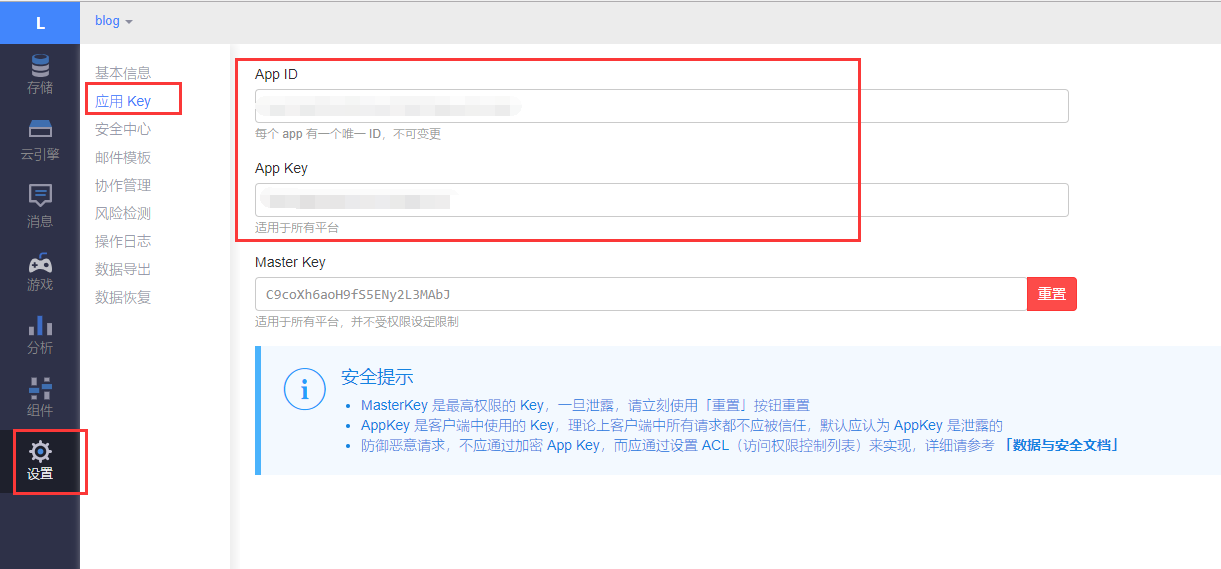
设置app id和app key
打开next/_config.yml,搜索leancloud_visitors,将enable设置为true,appi_id和app_key设置为上一步获取到的值
1 | leancloud_visitors: |
增加评论功能(来必力)
来必力注册账号
进入来必力注册账号
安装
选择免费的city版
获取uid
进入到 管理页面 -> 代码管理 -> 一般网站 代码中,在一堆js代码里面,搜索data-uid,后面的值即为uid
设置uid
打开next/_config.yml,搜索livere_uid,将livere_uid设置为上一步获取到的值
增加本地搜索功能
安装hexo search
1 | npm install hexo-generator-searchdb --save |
配置搜索功能
在根目录的_config.yml最后加入
1 | search: |
在next/_config.yml中搜索local_search,将enable设置为true
1 | local_search: |
搜索效果可以参考我的博客的搜索功能
增加腾讯移动分析
腾讯移动分析注册账号
进入腾讯移动分析注册账号,可以直接qq登录
创建应用
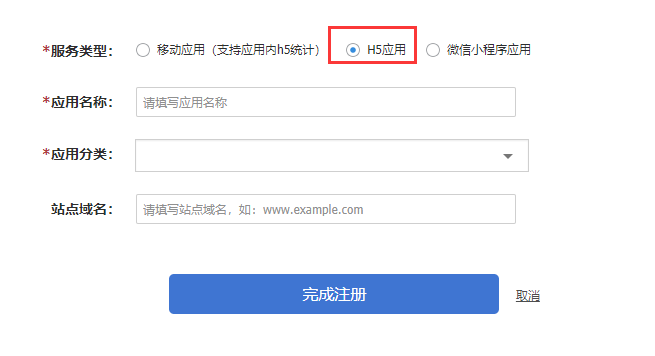
获取app id
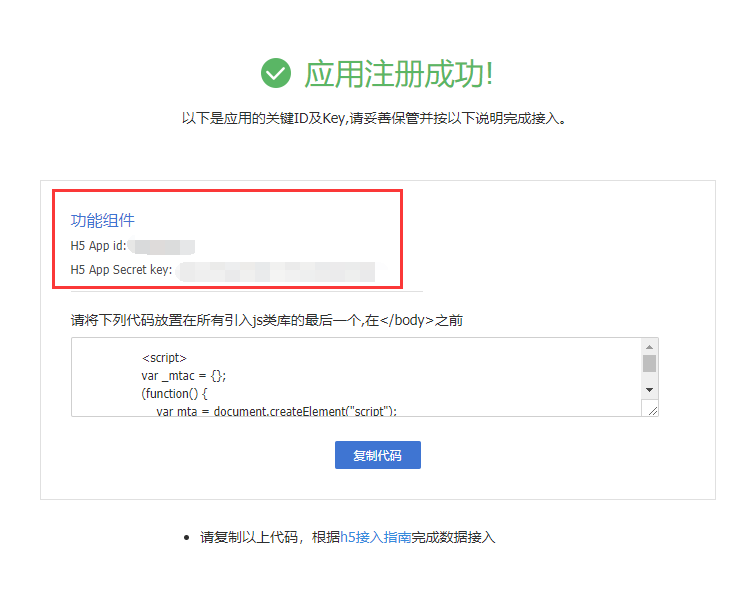
设置app id
打开next/_config.yml,搜索tencent_mta,将tencent_mta设置为上一步获取到的app id